Entertainment
The Most Effective Method to Draw A Flower Vase | Full Guide
Introduction:
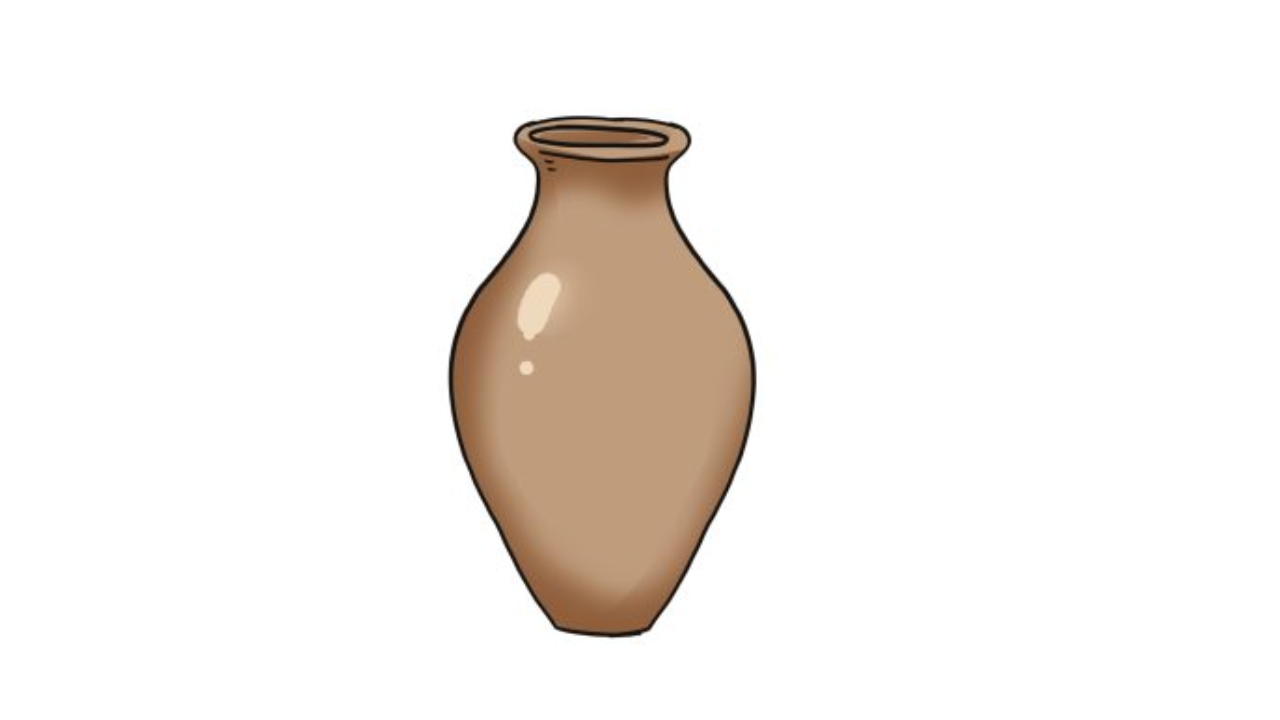
Draw A Flower Vase: Drawing is a magnificent type of imaginative articulation that permits people to release their innovativeness and make visual portrayals of their creative minds. One well-known subject for specialists to draw is a flower container. With its sensitive sprouts and rich bends, a blossom vase presents a brilliant chance to rehearse different drawing strategies. In this bit-by-bit guide, we will walk you through the most common way of drawing a flower vase, from the underlying representation to the last contact.
Also, check out our cute Turkey coloring pages.
Materials You’ll Need
Before you start, accumulate the essential materials to guarantee a smooth drawing process:
- Drawing paper or sketchbook
- Pencils of changing hardness (2B, 4B, and 6B)
- Erasers (manipulated and vinyl erasers)
- Sharpener
- Ruler
- Reference picture of a flower vase
Stage 1: Setting up the Creation
Begin by picking a reference picture of a blossom container that you see as engaging. Place the reference picture before you to allude to it while drawing. This will assist you with catching the subtleties and extents precisely.
Stage 2: Essential Diagram of the Container
Utilizing a light pencil (2B or 4B), sketch a straightforward oval shape to address the container’s body. The oval doesn’t need to be great; slight inconsistencies can give the vase a more normal look. Guarantee that the oval is fixated on your paper.
Stage 3: Adding the Neck and Base
Expand two lines upwards from the highest point of the oval to make the neck of the vase. These lines should tighten somewhat as they go up. Then, define a level boundary at the lower part of the oval to lay out the foundation of the vase. This base ought to be more extensive than the neck.
Stage 4: Framing the Vase
Presently, utilizing a hazier pencil (4B or 6B), cautiously follow the blueprint of the container, refining its shape as you go. Focus on the bends of the vase and the extent of the neck and base. Try not to stress over adding so many subtleties at this stage; center around getting the essential shape right.
Stage 5: Drawing the Blossoms
Before continuing, pause for a minute to design the plan of blossoms in the container. Settle on the kinds of blossoms you need to draw and their positions. Begin drawing the blossoms utilizing essential shapes. For instance, draw circles for roses, ovals for tulips, and lengthened shapes for lilies.
Stage 6: Adding Subtleties to the Blossoms
Refine the state of the blossoms by adding petals, leaves, and stems. Concentrate on your reference picture to catch the complex subtleties of each flower. Utilize the shifting hardness of pencils to make various tones and surfaces. A 2B pencil can be utilized for lighter regions, while a 6B pencil can add profundity to shadows and hazier regions.
Stage 7: Making Profundity and Volume
To make the drawing look three-layered, center around profundity and volume. Use concealing strategies like bringing forth and cross-incubating to add shadows and features to the container and blossoms. Gently conceal the regions where shadows fall and leave the featured regions immaculate or with insignificant overshadowing.
Stage 8: Dealing with the Vase’s Surface
Add a surface to the vase to cause it to show up more reasonably. If the container is glass or has a sparkling surface, utilize the impression of light and hidden features to accomplish the impact. Add barely recognizable differences and subtleties to address the surface of a porcelain or earthenware vase.
Stage 9: Refining the Blossoms
Return to the blossoms and refine the subtleties further. Add individual petals, veins on leaves, and unpretentious folds in the petals. Utilize an eraser to delicately remove graphite to make features on the petals and leaves, giving them a more powerful appearance.
Stage 10: Adjusting the Arrangement
Survey the general piece of your drawing. Ensure the blossoms are proportional according to the container. Change any components that appear to be awkward or lopsided. You can add extra leaves or buds to fill in any holes and make a reasonable creation.
Stage 11: Last Contacts
Analyze your drawing and make any last changes. Obscure the important lines and refine the concealing to upgrade the differentiation and profundity. Make a stride back and assess your attraction to guarantee that you’ve caught the substance of a flower container.
End
Drawing a blossom container is a compensating creative undertaking that permits you to investigate different methods, from catching the effortless bends of the vase to complicatedly specifying the petals of the blossoms. You can make a lovely portrayal of nature’s polish with the right materials, cautious perception, and tolerance. Remember that practice is critical, so cheer up if your most memorable endeavor isn’t as careful as you imagined. Continue to refine your abilities, and with time, you’ll have the option to make dazzling blossom vase drawings that exhibit your imaginative development and innovativeness. For more information, please Click Here!

Wasp Identification Guide: Learn How to Identify Different Wasp Species in Toronto
The Allure of Gravel: Why We Dig Voices with Grit
Ferdinand Berthier: A Pioneer in Deaf Education and Culture

Ultimate Guide to Obtaining an Indian Visa from Argentina

The Ins and Outs of Getting an Indian Visa from Cuba: