Home Improvements
Transitioning to Green Energy: Steps to Installing a Solar Electric System
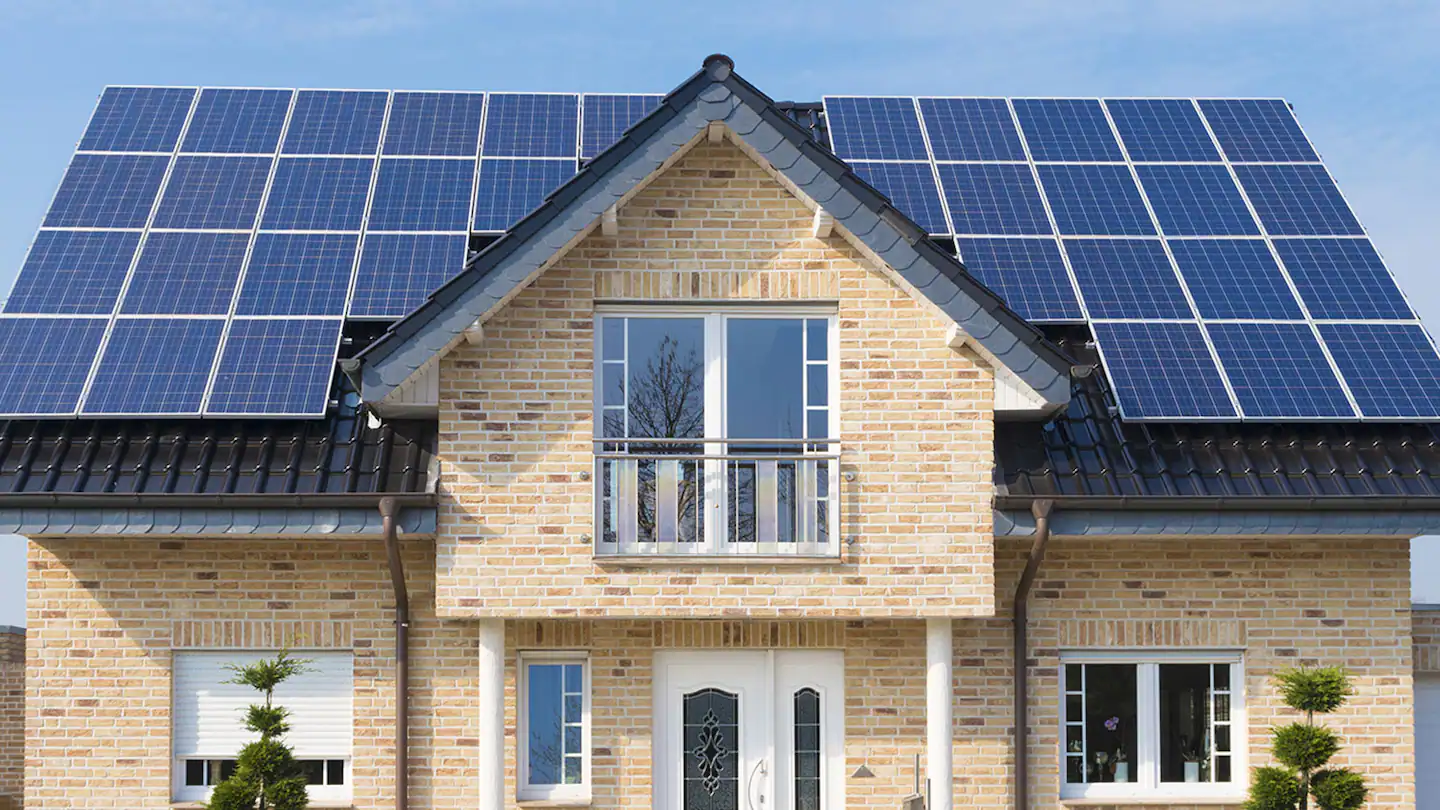
There’s never been a better time to transition to green energy. With environmental awareness at an all-time high, many homeowners are choosing to take the plunge and install Solar Electric System in their homes. Solar energy harnesses the power of the sun, transforming it into electricity you can use, significantly reducing your reliance on traditional, non-renewable sources of energy. This move not only contributes to a sustainable future but can also offer substantial savings in the long run. However, the process can seem overwhelming. This guide will help demystify the steps involved in transitioning to a solar electric system.
1. Assessment of Energy Needs
The first step is to become aware of your energy usage. Analyze your utility bill over the past year to determine your average monthly energy usage. This assessment will dictate the size of the solar electric system you will need.
2. Site Evaluation
Next, a professional solar installer needs to evaluate your property’s suitability for solar installation. They will assess the angle and direction of your roof, local climate, and potential shading issues. South-facing roofs without shading are generally best, though systems can still be effective on east or west-facing roofs.
3. Selecting a Solar Electric System
Once you’ve assessed your energy needs and site suitability, the next step is choosing the appropriate solar electric system. There are primarily two types – grid-tied systems that are connected to the public electricity grid, and off-grid systems that are entirely independent. Your selection depends on your energy needs, budget, and personal preference.
4. Financial Evaluation
An essential part of transitioning to solar is understanding the financial implications. You need to consider the initial cost of installing the system, potential savings on energy bills, and available government incentives or tax credits. Many regions offer attractive incentives to homeowners switching to solar power, which can significantly offset the upfront cost.
5. Hiring a Solar Installer
Installing a solar electric system is not a DIY job. You’ll need to hire a professional solar installer who is familiar with local permitting and has a track record of successful installations. Research thoroughly, read reviews, and ask for recommendations to find a reputable installer.
6. Applying for Permits
Before the installation begins, you’ll need to apply for the necessary permits. The specifics vary by region, but your solar installer should help guide you through this process.
7. Installation
The installation can start after the necessary permits are obtained. The process includes setting up solar panels, inverters, and other necessary components. Depending on the size of your system, this can take anywhere from a few days to a few weeks.
8. System Testing and Commissioning
After installation, the system will need to be tested to ensure it’s working correctly. Your installer will also commission the system, which involves final checks and officially starting the system’s operation.
9. Monitoring and Maintenance
Post-installation, it’s crucial to monitor your system’s performance and schedule regular maintenance to ensure it continues to operate efficiently. Many modern systems offer real-time monitoring through smartphone apps.
Transitioning to a solar electric system is a significant decision that can bring numerous benefits. However, it’s essential to navigate the process correctly to ensure you make the most of your investment. By understanding each step, from assessing energy needs to system monitoring, you’ll be well-equipped to embark on this exciting journey toward sustainability.
Wasp Identification Guide: Learn How to Identify Different Wasp Species in Toronto
The Allure of Gravel: Why We Dig Voices with Grit
Ferdinand Berthier: A Pioneer in Deaf Education and Culture

Ultimate Guide to Obtaining an Indian Visa from Argentina

The Ins and Outs of Getting an Indian Visa from Cuba: